零碎笔记
简单记录平时遇到的一些技术问题。
MacOS
MacBook Air 的公钥
ssh-rsa AAAAB3NzaC1yc2EAAAADAQABAAABgQDHVXS5pIS3ETdYUF1orsd6HuFmP8kIId0kXZC/XsighdDQFkG0iHkZZ/HVLLN7u0cwrtx0bun8naOksoTVXZQnbVMXGalX/zA0YzRySQzhrquHgIY0a5PKC+eZT+NOM+uN8SPZ/nuScxfmhQjrT/aup3ZeQoa6ThSWBcGX65V6jMgRYXdiVwRvtEE4qLdVwgk81Z7OKIlIWN98J9nYFisiim5P9Ew1WGp8ccKB44SNNJHCyc6rM2sp5JFrBhOyQ52BR7iv7Hf++Q9AKP8PXoyD4f3jEO8WJeCNkOdEw3WhNROrBMJ+C8y6K40Kl8Pzksb8+83xMpqVCuDA/b3uFb5H1tVUjY5+xstAQjAtfsB7C1NEUA8Msh4Q1lNmDHiB3YlVfsmY5Yhpfv+JU3V+B/7mtHXld0XF4Ac2YlAv3lgWeZpfBWagymxtL9MVjUgPTT7Dd2FBjtoHNLfFYt3r70D0fdRgtrSpIY+ppUgTGbnCz+fXCTun6jP/Ejx+3qZS85U= mail@pengfeima.cnHomebrew
homebrew是MacOS中的软件包的管理器,如果网络环境较好,可以通过以下代码安装。
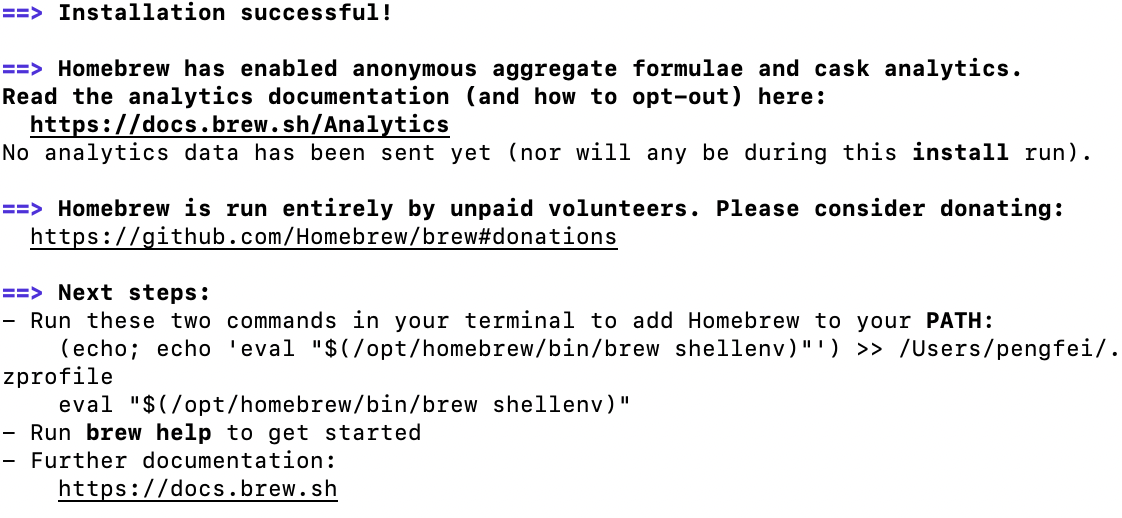
/bin/bash -c "$(curl -fsSL https://raw.githubusercontent.com/Homebrew/install/HEAD/install.sh)"安装成功后会出现提示。
运行两行代码,将homebrew加入环境变量。
(echo; echo 'eval "$(/opt/homebrew/bin/brew shellenv)"') >> /Users/pengfei/.zprofile
eval "$(/opt/homebrew/bin/brew shellenv)"
smartmontools
据说,由于苹果对内存交换区使用了较为激进的策略, M1 芯片的 Macbook 硬盘写入量远大于其他电脑。安装smartmontools可以查看磁盘的状态。
brew install smartmontools
smartctl -a disk0
tensorflow
在M1芯片的苹果电脑上安装并测试Tensorflow。
- 直接通过pip安装tensorflow
pip install tensorflow-macos
pip install tensorflow-metal- 如果安装过程出现错误,先更新pip,再安装
pip3 install --upgrade pip
python3 -m pip install --upgrade setuptools- 如果
import tensorflow出现错误,更新numpy
pip install numpy --upgrade- 测试代码
from tensorflow.python.framework.ops import disable_eager_execution
disable_eager_execution()

import ssl
ssl._create_default_https_context = ssl._create_unverified_context

import tensorflow as tf
from tensorflow import keras

(x_train, y_train), (x_test, y_test) = keras.datasets.cifar10.load_data()
x_train, x_test = x_train / 255.0, x_test / 255.0

y_train = keras.utils.to_categorical(y_train, num_classes=10, dtype='float32')
y_test = keras.utils.to_categorical(y_test, num_classes=10, dtype='float32')

from tensorflow.python.compiler.mlcompute import mlcompute
mlcompute.set_mlc_device(device_name="gpu")

with tf.device('/GPU:0'):
    model = keras.Sequential([keras.layers.Flatten(input_shape=(32,32,3)),
                            keras.layers.Dense(3000, activation='relu'),
                            keras.layers.Dense(1000, activation='relu'),
                            keras.layers.Dense(10, activation='sigmoid')
                    ])

model.compile(optimizer="SGD", loss="categorical_crossentropy", metrics=['accuracy'])
model.fit(x_train, y_train, epochs=5)
model.evaluate(x_test, y_test, verbose=2)可以看出M1处理器相当快。数据来自网络[1]。
| 处理器 | 时间 |
|---|---|
| Apple M1 GPU | 15s |
| Apple M1 CPU | 24s |
| NVIDIA A100-40G | 5s |
| Intel CPU | 34s |
Picgo
下载链接 https://github.com/Molunerfinn/PicGo/releases/download/v2.3.1/PicGo-2.3.1-arm64.dmg
清除 app 的隔离属性
sudo xattr -d com.apple.quarantine "/Applications/PicGo.app"picgo设置
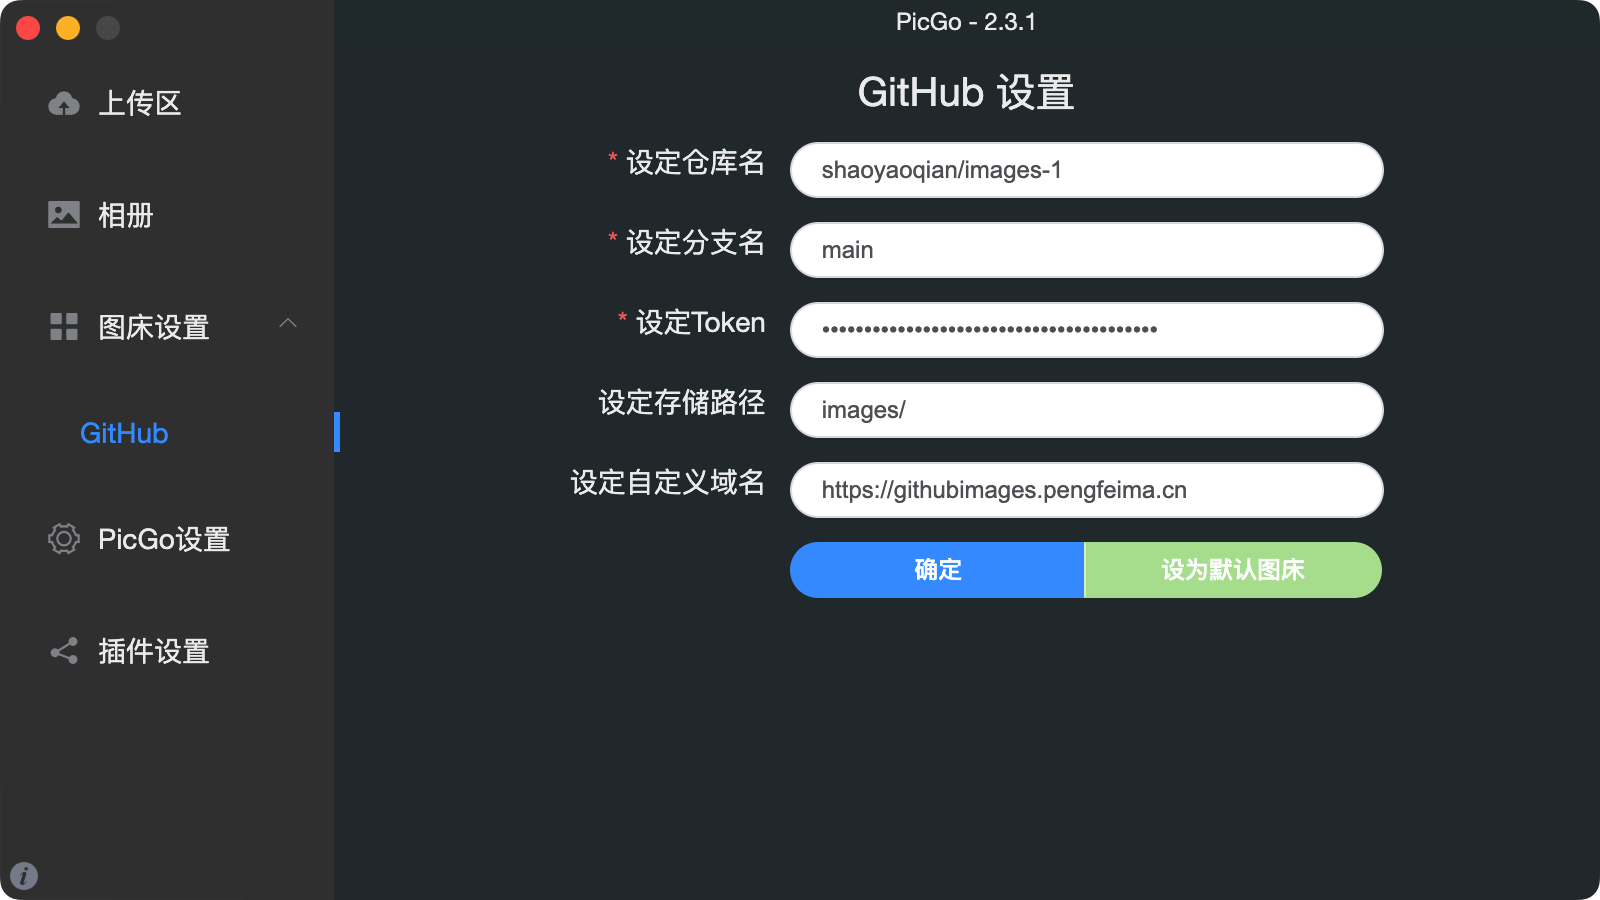
图床设置
MarginNote
License Email :499908174@qq.com
License Name :马 鹏飞
License Code :id411195361195odr
Mathpix snipping tool
账号:375Jgc366@alumni.stanford.edu
密码:aAmath1@A
GIT
清理仓库历史
# 切换到一个脱离主分支的另外一条全新主分支,不用太在意叫什么,因为后面还会修改分支名称
git checkout --orphan latest_branch
# 暂存所有改动过的文件,内容为当前旧分支的最新版本所有文件
git add -A
#提交更改
git commit -am "commit message"
#删除原始主分支
git branch -D main
#将当前分支重命名为 main
git branch -m main
#最后,强制更新您的存储库
git push -f origin main
从仓库的历史记录中删除文件
上传文件到GitHub Realease
需要这些参数:
- owner
- repo
- release_id
- name 文件名
具体可查看Python代码
调用GitHub API处理Markdown文本
https://github.com/shaoyaoqian/shaoyaoqian.github.io/releases/download/20230209/text.html
https://github.com/shaoyaoqian/shaoyaoqian.github.io/releases/download/20230209/text.md
https://github.com/shaoyaoqian/shaoyaoqian.github.io/releases/download/20230209/github_markdown.py
邮件测试
Python
import smtplib
smtpObj = smtplib.SMTP_SSL("smtp.qq.com")
smtpObj.login("499908174@qq.com","zzokkzruycbobicd")
smtpObj.sendmail("499908174@qq.com","mapengfei@mail.nwpu.edu.cn","ddddfasdfa")
smtpObj.quit()

import smtplib
smtpObj = smtplib.SMTP_SSL("smtp.163.com",465)
smtpObj.login("merryjingle@163.com","OCDVFOFNDTXLIXGN")
smtpObj.sendmail("merryjingle@163.com","mail@pengfeima.cn","ddddfasdfa")
smtpObj.quit()
Vercel
反向代理
- 创建配置文件
emoji.json
mkdir vercel
vi emoji.json
{
"version": 2,
"routes": [
{"src": "/(.*)","dest": "https://raw.githubusercontent.com/Tarikul-Islam-Anik/Animated-Fluent-Emojis/master/Emojis/$1"}
]
}- 安装、登陆Vercel,创建项目
npm i -g vercel
vercel longin
vercel -A emoji.json --prod
$ vercel -A emoji.json --prod
Vercel CLI 28.9.0
? Set up and deploy “~/Documents/GitHub/emoji/vercel”? [Y/n] y
? Which scope do you want to deploy to? shaoyaoqian
? Link to existing project? [y/N] n
? What’s your project’s name? shaoyaoqian-emoji
? In which directory is your code located? ./
Local settings detected in vercel.json:
No framework detected. Default Project Settings:
- Build Command: `npm run vercel-build` or `npm run build`
- Development Command: None
- Install Command: `yarn install`, `pnpm install`, or `npm install`
- Output Directory: `public` if it exists, or `.`
? Want to modify these settings? [y/N] n
🔗 Linked to shaoyaoqian/shaoyaoqian-emoji (created .vercel and added it to .gitignore)
🔍 Inspect: https://vercel.com/shaoyaoqian/shaoyaoqian-emoji/FyV69HGAWUtU4ihVFXq9hNtbaNzY [1s]
✅ Production: https://shaoyaoqian-emoji.vercel.app [6s]表情包制作
表情包下载
生成配置文件
Docker
shadowsocks 服务端运行
sudo docker run -d -p 444:444 --name shadowsocks --restart always oddrationale/docker-shadowsocks -s 0.0.0.0 -p 444 -k a12345 -m aes-256-cfb
sudo docker logs -f -t --tail 10 shadowsocks
docker-compose
搭建mysql服务
在mysql文件夹下创建my.conf和docker-compose.yml两个文件,通过命令sudo docker-compose up -d启动服务。
mkdir mysql && cd mysql[mysqld]
user=mysql
default-storage-engine=INNODB
character-set-server=utf8
[client]
default-character-set=utf8
[mysql]
default-character-set=utf8version: '3'
services:
mysql:
image: mysql
restart: always
container_name: mysql
environment:
MYSQL_ROOT_PASSWORD: password
TZ: Asia/Shanghai
ports:
- 3306:3306
volumes:
- ./data:/var/lib/mysql
- ./my.cnf:/etc/mysql/my.cnf
command:
--max_connections=1000
--character-set-server=utf8mb4
--collation-server=utf8mb4_general_ci
--default-authentication-plugin=mysql_native_password定时执行Python脚本
cronfile用于设定定时执行脚本run.sh。
50 * * * * cd /data && bash ./run.shrun.sh设定执行命令。
#! /bin/sh
cd /data && rm *.html
cd /data && touch changjiang_daily.html tech_daily.html hubei_daily.html youth_daily.html
cd /data && touch changjiang_sorted_daily.html tech_sorted_daily.html hubei_sorted_daily.html youth_sorted_daily.html
cd /data && scrapy crawl tech_daily && scrapy crawl youth_daily && scrapy crawl hubei_daily && scrapy crawl changjiang_daily
cd /data && python3 send_result.pyDockerfile创建镜像。
FROM python:3.9.6 as builder
COPY src/ /opt/src
WORKDIR /opt/src
# Install python3
RUN pip install -r requirements.txt

FROM builder as builder_ex
# Install cron
RUN apt-get update && apt-get -y install cron
# Copy hello-cron file to the cron.d directory
COPY src/cronfile /etc/cron.d/cron
# Give execution rights on the cron job
RUN chmod 0644 /etc/cron.d/cron
# Apply cron job
RUN crontab /etc/cron.d/cron
# Create the log file to be able to run tail
RUN touch /var/log/cron.log
# Run the command on container startup
CMD ["cron", "-f"]docker-compose.yml用于创建容器。
version: '3'
services:
crawler:
build: ../
volumes:
- ./log:/var/log
- ./data:/data
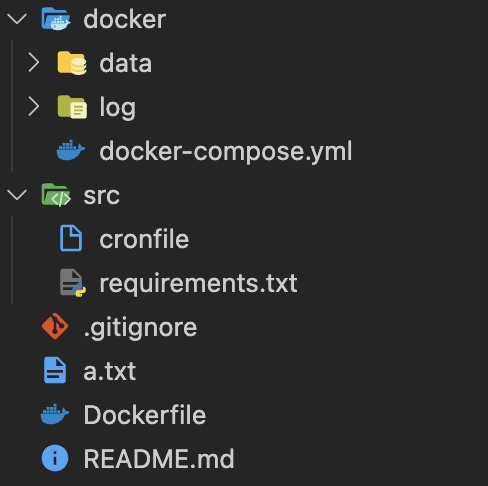
# - ./data:/opt/src文件夹结构如下:
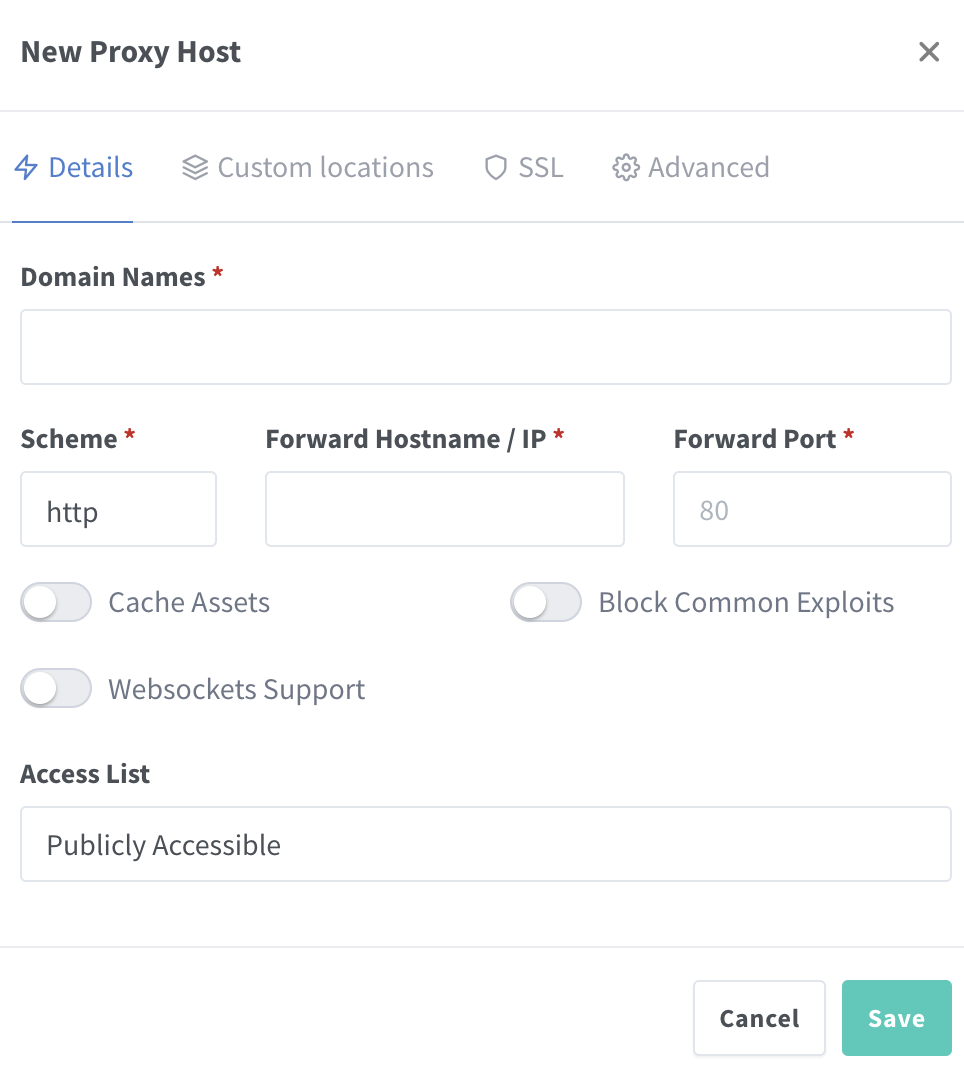
Nginx Proxy Manager
Nginx Proxy Manager 为Nginx提供了网页端的管理界面。创建docker-compose.yml,通过命令sudo docker-compose up -d启动服务。通过不同域名访问服务器上的不同服务,在设置界面中将服务端口和域名关联起来。这里的IP地址不能是127.0.0.1,该怎么设置我也不知道。
version: '3'
services:
  app:
    image: 'jc21/nginx-proxy-manager:latest'
    restart: unless-stopped
    ports:
      - '80:80'
      - '81:81'
      - '443:443'
    volumes:
      - ./data:/data
      - ./letsencrypt:/etc/letsencrypt
Microsoft Office 365
- 登陆开发者账号查看E5的订阅到期时间 https://developer.microsoft.com/zh-cn/microsoft-365/profile
- 登陆管理员账号分配office账号 https://developer.microsoft.com/zh-cn/office/dev-program
- 其中一个用户
self@ylvbg.onmicrosoft.com
LaTeX
GitHub仓库的bibtex引用格式
@misc{GPT2-NewsTitle,
	author = {Cong Liu},
	title = {Chinese NewsTitle Generation Project by GPT2},
	year = {2020},
	publisher = {GitHub},
	journal = {GitHub repository},
	url=”https://github.com/liucongg/GPT2-NewsTitle",
}
clash 白名单设置
创建文件 ~/.config/clash/proxyIgnoreList.plist ,加入域名。
<?xml version="1.0" encoding="UTF-8"?>
<!DOCTYPE plist PUBLIC "-//Apple//DTD PLIST 1.0//EN" "http://www.apple.com/DTDs/PropertyList-1.0.dtd">
<plist version="1.0">
<array>
        <string>192.168.0.0/16</string>
        <string>10.0.0.0/8</string>
        <string>172.16.0.0/12</string>
        <string>127.0.0.1</string>
        <string>localhost</string>
        <string>*.local</string>
        <string>*.crashlytics.com</string>
        <string>*.apple.com</string>
        <string>*.pengfeima.cn</string>
</array>
</plist>